
How to Perform Kingston SSD Data Recovery?
Learn to perform Kingston SSD data recovery via professional data recovery software in this article. Besides, there’re some practical data loss prevention measures.
By Penny / Updated on April 3, 2024
Is it possible to perform Kingston SSD data recovery?
Kingston, a renowned and trusted manufacturer of storage and memory devices, offers a wide range of products, including solid-state drives (SSD), hard drives (HDD), USB drives, SD cards, and more.
However, if you’ve accidentally deleted files from your Kingston SSD drive, are you eager to recover deleted files SSDs? If it happens to be your case, please read further to find feasible solutions.
Common causes of data loss on Kingston SSD drives
Data loss on Kingston devices can occur due to various factors. Please get an overview of the following common reasons.
- Accidental deletion: User error is often the primary cause of data loss. Besides disk formatting, accidentally deleting files from a storage device can lead to data loss.
- Improper removal or disconnection of your Kingston SSD: People may remove their Kingston SSDs without improper ejection because disregarding the proper removal process can corrupt files and potentially require formatting the device for future use.
- Virus and malware infections: Kingston storage devices are susceptible to viruses and malware like other devices. These malicious programs can wipe out your data entirely, irrespective of whether it resides on a Kingston SSD, USB drive, or SD card. In some cases, files can become encrypted through ransomware attacks, further exacerbating the data loss.
- System power failure or unexpected shutdown: If the system abruptly shuts down while the data on the storage device is still being processed, files can be corrupted or lost.
- Physical damage to the storage device: Physical damage also can occur to storage devices, resulting in data loss.
How to recover deleted files from Kingston SSD drives?
Please refer to the following phases to recover data from SSDs. Each phase is essential to ensure a successful Kingston SSD data recovery process.
Part 1. Disable TRIM before Kingston SSD data recovery
It’s necessary to disable TRIM functionality before beginning Kingston SSD data recovery because TRIM plays a significant role in the data erasing and writing operations of an SSD.
Specifically, TRIM facilitates the execution of Garbage Collection operations, which are responsible for erasing invalid blocks and writing new data in the available free space of the SSD.

When newly added files overwrite the free space that previously contained the deleted documents, it diminishes the prospects of recovering data from SSDs. Thus, let’s verify and disable TRIM via the following steps.
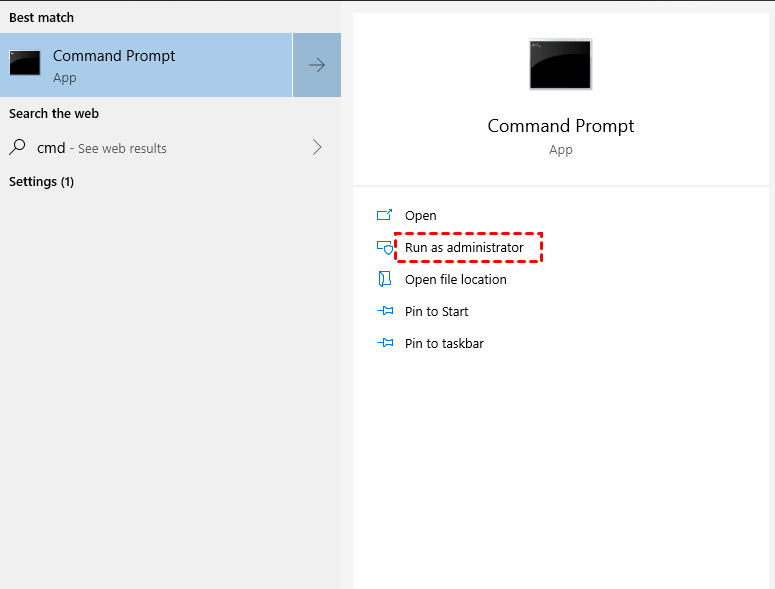
Step 1. Type “cmd” in the search bar and choose “Run as administrator” to open the command prompt window.
Step 2. Type “fustil behavior query disabledeletenotify” in the command prompt windows and press “OK” or hit “Enter” to go on.
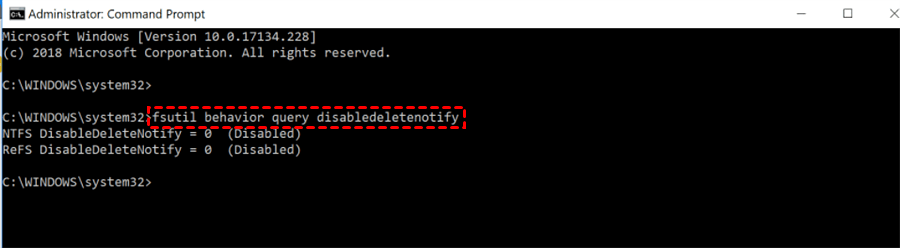
Step 3. Wait to see the return data. If the return data is 1, which implies Trim is activated. If the return data is 0, which implies Trim is disabled.
Step 4. To disable it, please type “fustil behavior disabledeletenotify 0” in the window.
Part 2. Recover data from SSD drives via data recovery software
If you have no valuable file backups, you might have no choice but to ask for help from a professional third-party tool.
Released by AOMEI Tech, powerful MyRecover aims to recover deleted & lost files from local hard drives such as internal HDDs and SSDs. In other words, whether your ssd is used as an internal or external drive, this software can help you solve the problem.
Key features of MyRecover:
- High-efficiency: Recover MS Office files, WPS files, folders, compressed files, images, audio, songs, videos, and websites, from internal and external HDDs, SSDs, USBs, SD cards, etc.
- Advanced scanning method: MyRecover runs Quick Scan & Deep Scan automatically to search all the recoverable files. Specify the filename, saved path, date, or size to filter your needed files.
- Convenience: Retain the original filename, path, and format for the deleted files.
- Excellent compatibility: Support NTFS, FAT32, exFAT, and ReFS file systems and be compatible with Windows 11, 10, 8, 7, or Server PC.
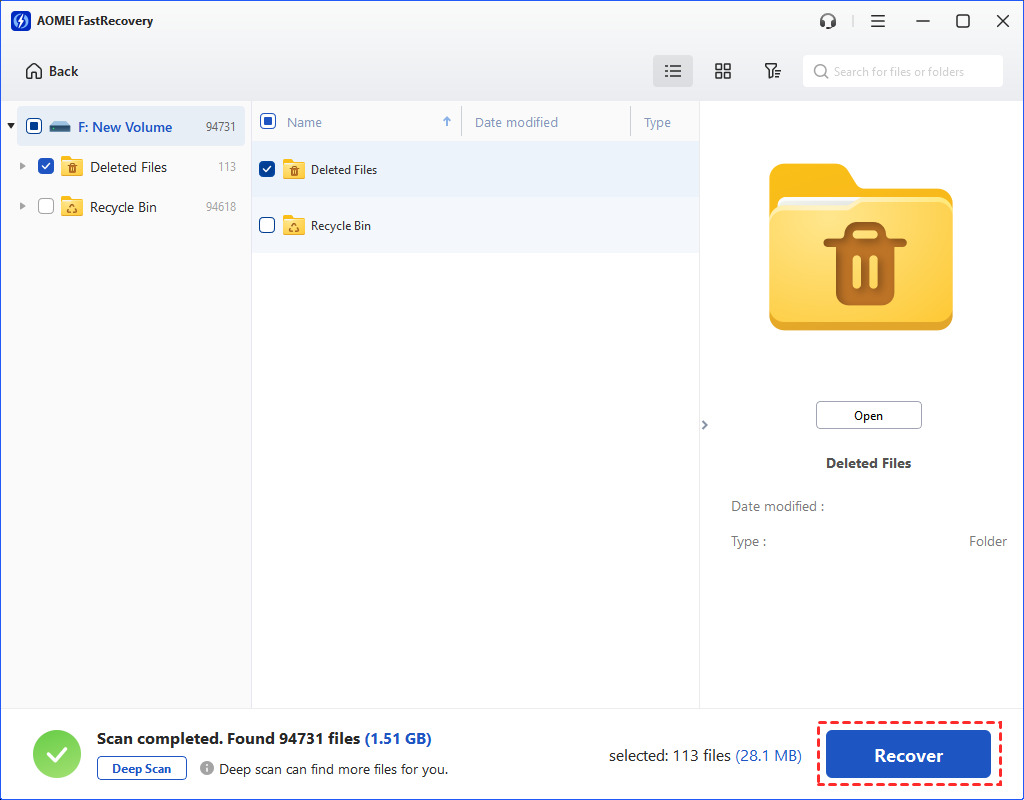
Step 1. Launch MyRecover > Hover the mouse over the Kingston SSD saved deleted files before, and click Scan.

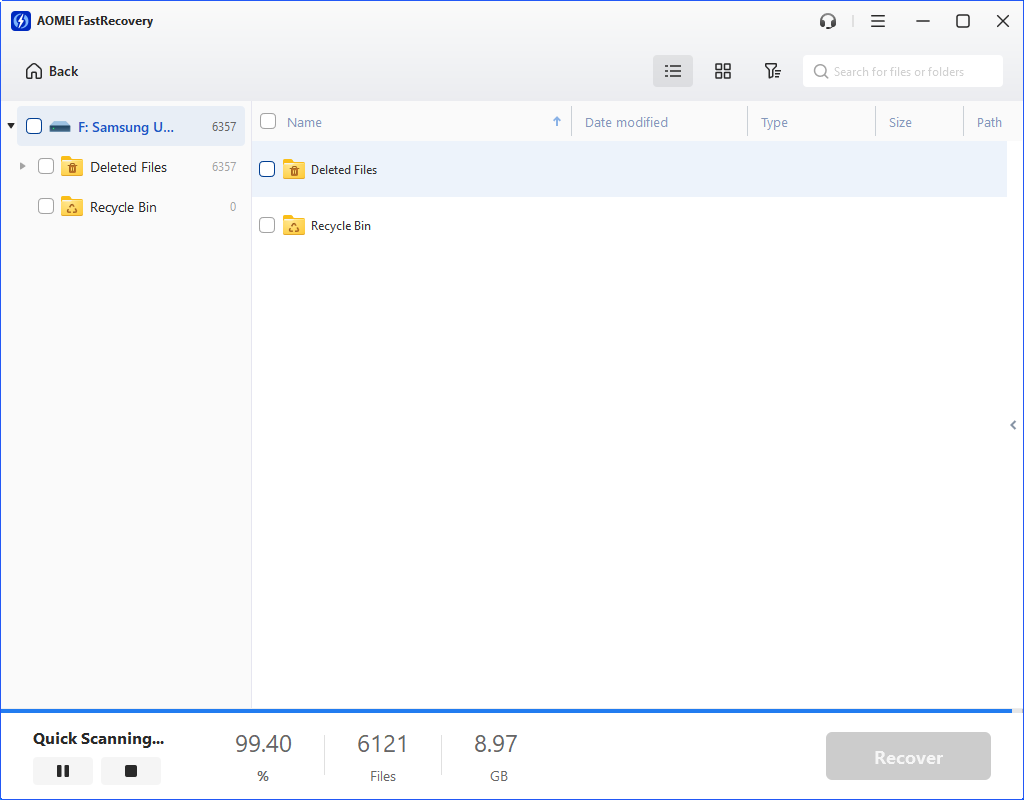
Step 2. MyRecover will automatically scan your selected Kingston SSD drive and detect all the recoverable files.
You can preview or filter specific files according to Documents Type, Name, Path, or Date.
- Name: Type the relevant filenames in the search bar to locate your desired deleted/lost files quickly.
- Date modified: Set a customized date (today, yesterday, last 7 or 30 days, etc.)
- Size: Filter the file size (<128KB, 128KB~1MB, 1MB~512MB, etc.)
Step 3. Click the Missing Files Folder and choose the files you want to retrieve. Then click the “Recover x files” button.
- Notes:✎...
- After recovery, please store your retrieved files on your computer instead of the original SSD drive.
- MyRecover can recover your 500MB of files for free in total. If you desire to recover a large number of deleted & missing files from local hard drives, upgrading MyRecover to the Professional or Technician edition is a more cost-effective choice.
Related suggestions
Preventing data loss on Kingston storage devices is always preferable to dealing with its aftermath. While it may not be foolproof, here are some helpful tips to minimize the chances of losing data on your Kingston devices.
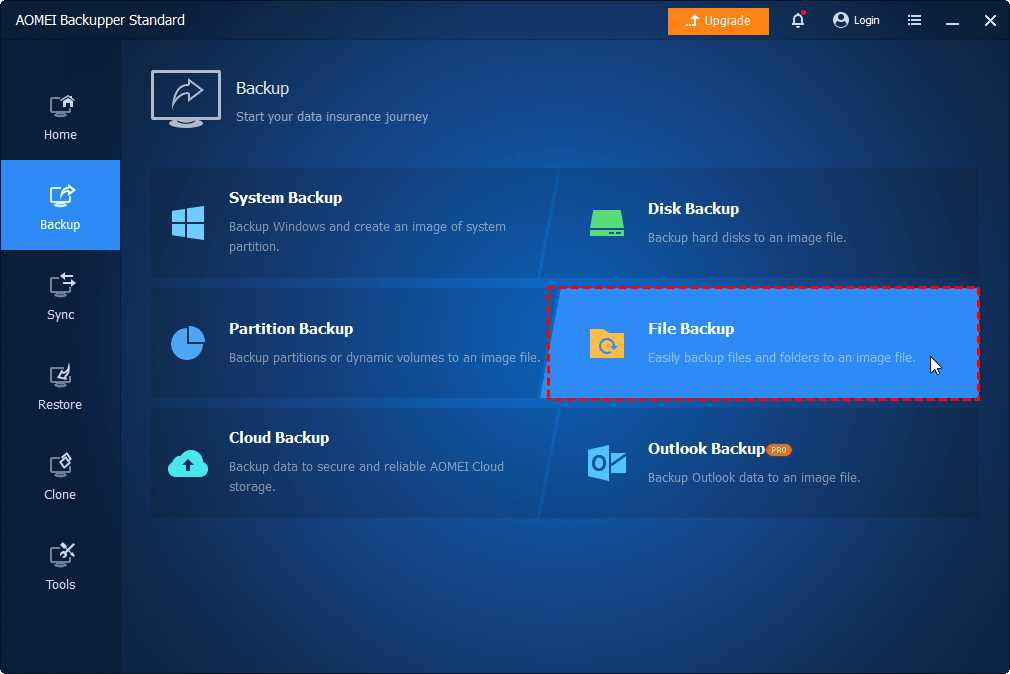
- Regularly back up your data using this free Windows backup software and store the backups in a separate location or on a different storage device.
- Exercise caution before deleting files or formatting the drive. Always double-check the contents of the storage device. If you have important files, consider transferring them to another storage device for added security.
- Keep your Windows operating systems up-to-date and install reliable antivirus software to protect your data from viruses and malware.
By following these tips and understanding the data recovery process, you can enhance the safety and longevity of your valuable data stored on Kingston devices.